How to Draw a Big Easy Light Bulb
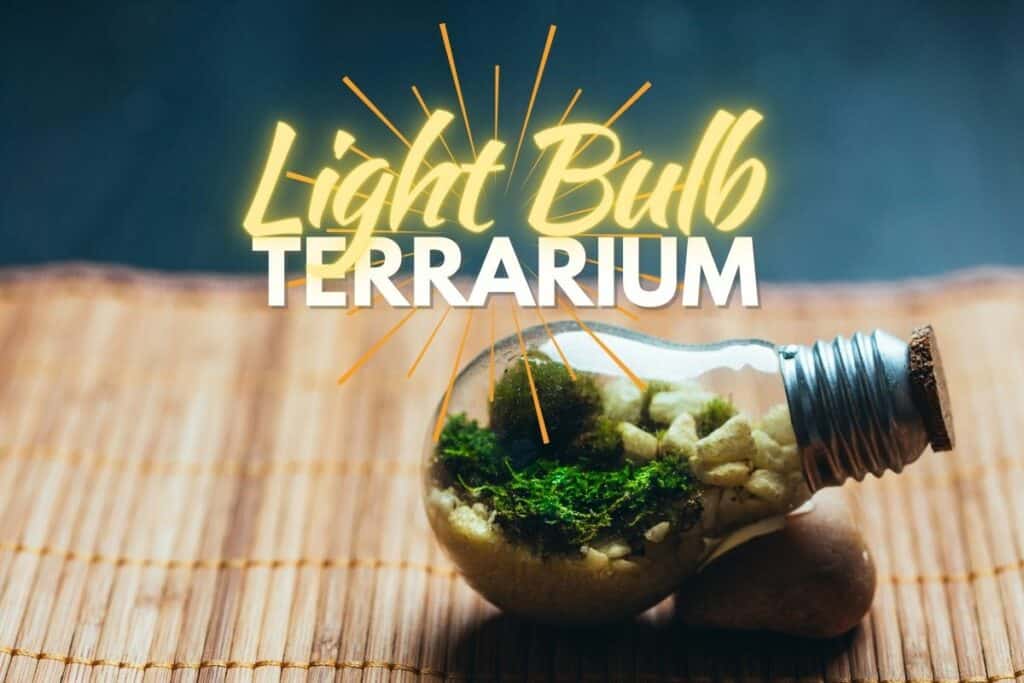
Living worlds don't come much smaller than a light bulb terrarium.
Honestly, what better way is there to breathe new life into a household object that's run its course?
Though the small size comes with some planting challenges – and can require a little in the way of DIY skills – this is a terrarium project that anyone can do.
So, be sure to save your next incandescent light bulb (or buy one of the easy-mode light bulb jars) and find out how to make this bright idea a reality!
This page may contain affiliate links that allow us to make a small commission (at no further cost to yourself). 💚 Thank you for helping to support the tribe!
- Light Bulb Terrarium – DIY Overview
- How to Convert a Lightbulb
- Planting Ideas for a Light Bulb Terrarium
- 1 | Moss Terrarium (Mossarium)
- 2 | Air Plant Terrarium
- 3 | Micro Tropical Terrarium
- 4 | Marimo Moss Terrarium
- Where to Find a Light Bulb Terrarium For Sale
- Now It's Your Turn
Light Bulb Terrarium – DIY Overview
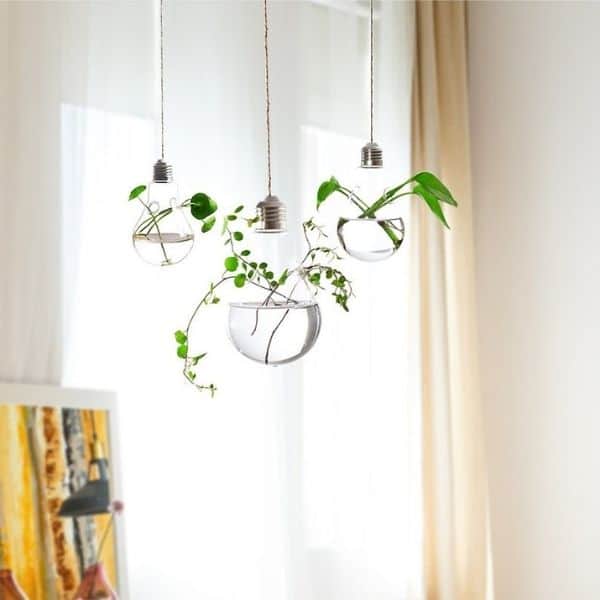
The light bulb terrarium is a versatile option.
These little beauties can be sealed to become closed terrariums, mounted into hanging terrariums, or opened up to become planters and jars.
From tiny air plant terrariums to lush mossariums, there's a botanical application for you.
However, if you're using an actual lightbulb, it can require a little bit of breaking-and-entering… In that, we need to get a little rough with our chosen lightbulb to access it and clean it out.
It's worth noting, too, we're only talking about incandescent light bulbs. Fluorescent light bulbs are a big no-no and contain chemicals you don't want to be releasing.
Obviously, we want clear one too.
So, here's how we'll do it.

How to Convert a Lightbulb
1. Pop on your safety goggles and gloves – We're handling delicate glassware here, and there's always a risk of broken glass shards going where we don't want them to.
2. Remove the metal tip with needle-nose pliers – This will be in the center of the base, and removing it should give you more access to the black glass beneath.
3. Carefully (somehow) smash all that black glass – Using your pliers or a screwdriver, chip away at the black material and clear it all from the opening. This can be a messy task (for adults only, I might add), and the bits of glass likely won't come cleanly off.
4. Break and remove the filament – Now that we can fully access the light bulb, we must extract its contents. These are fixed in, so you'll need to break their connections first with a screwdriver before carefully pulling them out with your pliers.
5. Clean up your new glass container – By now, you've probably made a mess in and out of your light bulb. So clean up any glass and wash the inside of your glass with water.
This YouTube video breaks down the light bulb conversion process very well (pun intended) but be sure to read on to the planting tips.
Alternatively, you really can buy empty light bulb containers pretty readily now. They look like light bulbs, but they have none of the working bits and can easily screw off the cap.
👉 Shop easy Light Bulb Containers on Etsy.
Planting Ideas for a Light Bulb Terrarium
Whether you choose to keep your light bulb terrarium open or closed, you have so many plant options to choose from.
The only essential thing is that they need to be super small (duh?)
1 | Moss Terrarium (Mossarium)
Plants don't come smaller than moss!
Plus, the fact that moss doesn't have any roots makes the process a lot simpler. A bit of substrate in there can help anchor it and hold on to some moisture, but it's not essential.
Sheet moss (e.g., Hypnum Moss) is probably the easier choice, given that you need to get it through a narrow opening. Still, you can likely break up a chunky moss (e.g., Cushion Moss) and get it through if you separate it into small enough bits.
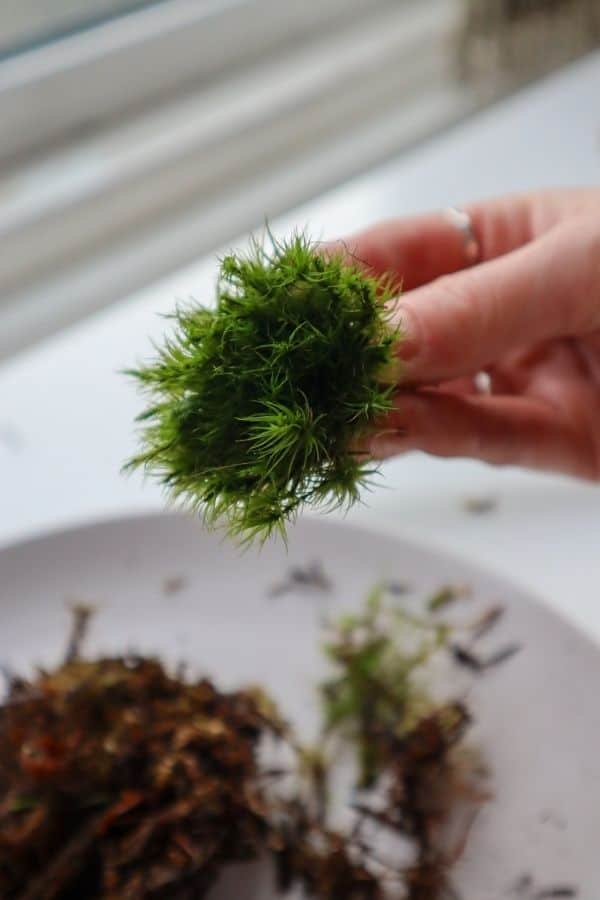
You'll need a way to seal your light bulb for this one to work, as a moss terrarium needs consistently high humidity to thrive. A little cork (or even cling film) will do it.
2 | Air Plant Terrarium
Following the pattern of plants that don't have roots, we have the air plants.
These are amongst the easiest plants to grow in that they get all of their moisture from the air.
No roots, no problem!
Again, there's no need for substrate here. But, adding a small layer of sand isn't a bad idea, as it can help anchor the rest of the plants and objects in place (and make it at least look like a true terrarium).
So it really is as simple as placing these aesthetically into a container and leaving them be. Except for the occasional misting, of course.
Air plant terrariums do like a bit of airflow, so I'd keep your light bulb container open for this project.
Personally, I love the Tillandsia genus best. They're easy to grow, and their long tendril leaves provide so much character (as long as you can fit them in).
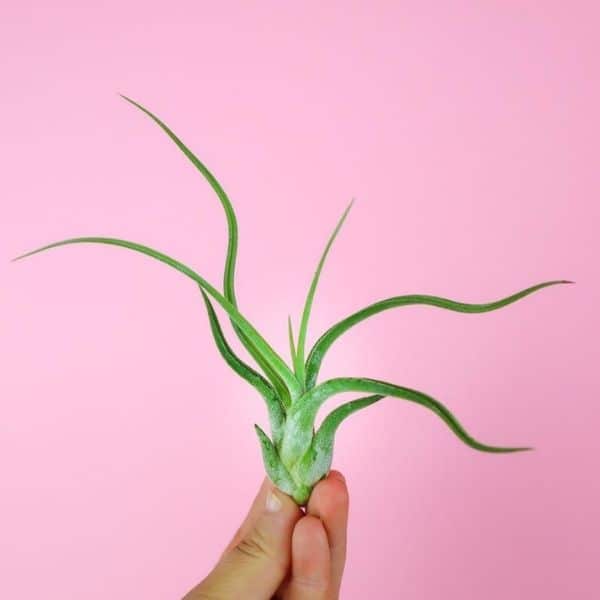
Suppose you want to couple your air plants with some mossy accents that won't dry out and look terrible. Give some preserved moss a try instead.
3 | Micro Tropical Terrarium
We simply need to shrink everything down to achieve a classic closed tropical terrarium in such a small space.
I'd recommend a few approaches.
- Use cuttings from miniature vines like Pilea gluaca or Peperomia prostrata. These will readily root up in humid containers. Selaginella is another great tiny carpeting plant that works super well in this situation.
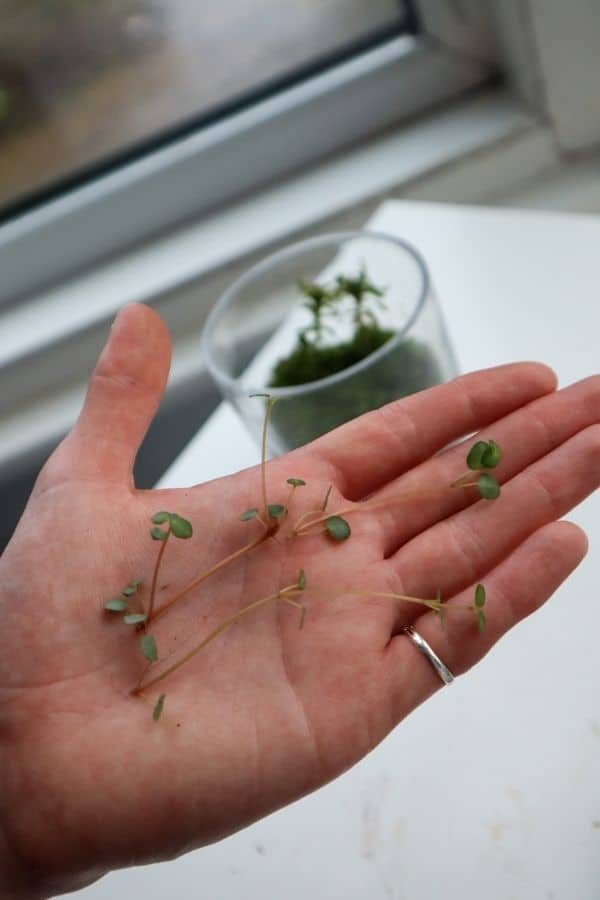
- Use small semi-aquatic plant species like Bolbitis heteroclita 'Difformis' or Anubias barteri var. nana. These plants come small and stay small. Plus, the fact that they're semi-aquatic means that they're going to love growing in a consistently moist environment. So you don't need to worry about mold or rot.
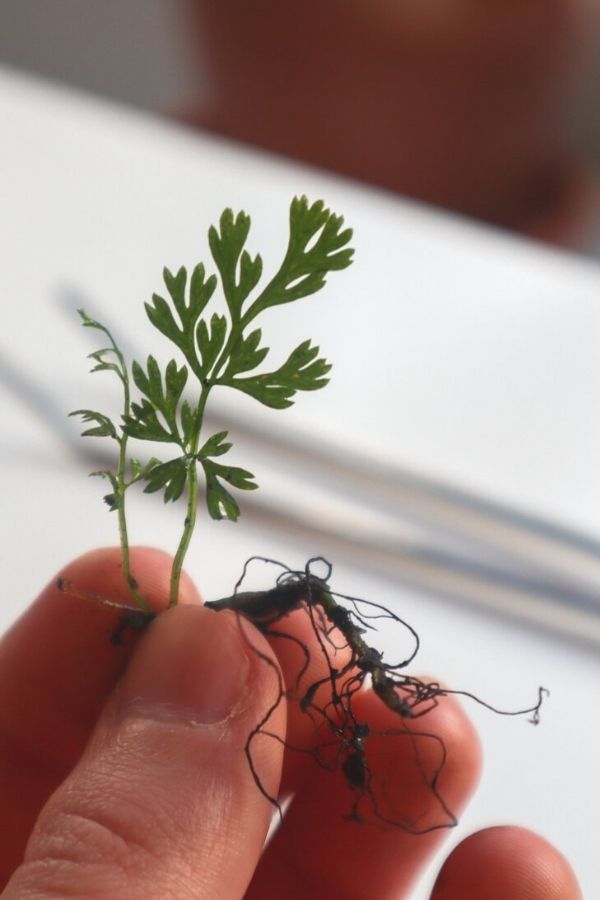
- Miniature ferns can work, too, provided you pick the super small ones. The Fluffy Ruffles Fern could be small enough – especially if you can divide it into just one or two fronds.
I've seen a lot of other tutorials suggesting that you add pebbles to make a drainage layer, but in such a small space, I wouldn't bother.
Every inch counts, and I'm not convinced a drainage layer would work effectively.
Instead, I'd use aquarium soil on its own. These baked soil pellets are an excellent all-in-one substrate that won't compact or turn to slop when saturated.
You want more room for plants, right?
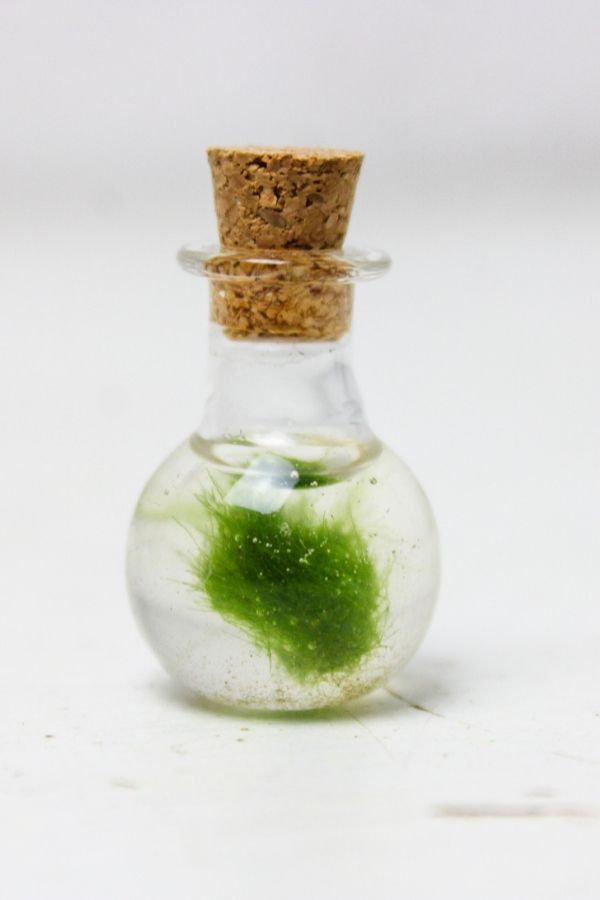
4 | Marimo Moss Terrarium
Last but by no means least, the marimo moss terrarium.
Perhaps the easiest of all, you simply need to fill your light bulb with water and place your moss ball inside. Simple!
Though technically algae rather than moss, it's a lovely little ball of planty goodness.
Where to Find a Light Bulb Terrarium For Sale
For those looking to avoid hacking a light bulb apart (honestly, that's me too), there's a variety of light bulb-shaped container options on Etsy.
- These have holes in the front and work more like hanging open terrariums. Probably the easiest to work with if you're going the air plant route.
- Or these have lids that screw off. Perfect for a mossarium or tiny tropical setup.
Alternatively, If you simply want to buy a gorgeously made light bulb terrarium all ready to go. These are some stunning examples of using live moss.
Now It's Your Turn
That's a wrap on our light bulb terrarium guide.
Hopefully, we've sparked your curiosity and illuminated the way (sorry, I'll stop).
Need more inspiration for your next project? Check out these fun terrarium ideas!
Source: https://terrariumtribe.com/light-bulb-terrarium/
0 Response to "How to Draw a Big Easy Light Bulb"
Post a Comment